When it comes to learning how to write code, there’s no ‘easy’ or ‘hard’ programming languages. Learning a language for the first time is just uncomfortable, but practice makes perfect! Somehow though, you’ve decided you want to learn Java. Great! You’ve come to the right place.
By the end of this article you should be able to briefly explain the difference between what is meant by frontend, backend, JDK, JRE, and JVM. You will have downloaded and installed Java and an IDE (Integrated Development Environment). Finally, you will have ran your first Java application. Let’s get started!
First Things First
First things first (I’m the realist – sorry), let’s get the giggles out of the way. When it comes to programming languages in web development, there’s generally two categories, frontend and backend. Java is a backend programming language.
Think of a car. The frontend of a car is the things we can see and interact with, such as the exterior of the car, the doors, the steering wheel, etc. However, the backend can be comparable to the engine, fuel, and the performance.
Java is a programming language that is ‘Platform Independent’. What does that mean? You can run it on any operating system (Windows, macOS, Linux). How? Glad you asked! It’s all thanks to the Java Virtual Machine, or just JVM for short.
The JVM is like a translator. It takes the human readable code we write and turns into instructions that a computer can execute, also known as bytecode. The JVM does lots of other things too, but that’s for another day.
But how do I get the JVM? Great question. We can just download it. But there’s actually two different ways, one of which we will mainly be concerned with. Introducing Java Runtime Environment, and Java Development Kit, or just JRE and JDK!
When you just want to be able to run a Java programme, you only need to install the JRE. The JRE comes with the JVM and other tools and components that are necessary for running a Java programme.
The JDK on the other hand (if you haven’t already guessed it) is what we need to actually write some code. It comes packed with the JRE (which has the JVM) and a bunch of other tools that again, are for another day. Check out the image below for a visual representation of what I just wrote.

Downloading A JDK
Okay, let’s actually do some stuff. Let’s download a JDK! Notice how I said ‘a’ JDK. That’s because there are several vendors who maintain different versions of the JDK, for different scenarios or use cases . But that is not super important right now, we want one that’s free. I have used the Zulu version of the JDK at several companies so we will download that one.
Head to the following: https://www.azul.com/downloads/#zulu
Scroll down, and select the version and the operating system. I’ve opted to use Java 17 and I’m using a MacBook so I chose macOS. Then click download.

The installation process is simple, just follow the onscreen instructions and you can’t go wrong. I can verify that my install has been completed successfully by opening the terminal and running the following command:
java -versionIf you’ve downloaded the same version as me, then you should see a similar output:
openjdk version "17.0.9" 2023-10-17 LTS
OpenJDK Runtime Environment Zulu17.46+19-CA (build 17.0.9+8-LTS)
OpenJDK 64-Bit Server VM Zulu17.46+19-CA (build 17.0.9+8-LTS, mixed mode, sharing)
Congratulations, you have now successfully installed the Zulu JDK!
Installing An IDE
There are many popular IDE’s available, and honestly, it’s really personal choice what you use. I have used several over the years, but for the last few I have exclusively used IntelliJ. So you guessed it, that’s what we’re gonna download!
Head on over to: https://www.jetbrains.com/idea/download/
Make sure you scroll down and download the ‘Community Edition’ for the free version.

Again, the installation process is pretty straight forward, just follow the instructions. Open up IntelliJ once it’s finished installing and you should be greeted with the following screen.

Your First ‘Hello World’ Application
Now, are we gonna write a production ready application? No. Are we going to learn everything about Java? No. Are we going to setup and run our first application? YES! Let’s go.
From the IntelliJ main screen (image above) choose ‘New Project’. Update the project name to ‘Hello World’, take note of where you’re saving your code to, and make sure the JDK is the version you downloaded. I have also selected the ‘Add sample code’ option because it will build the project with some code for us that we can run. Now select create.

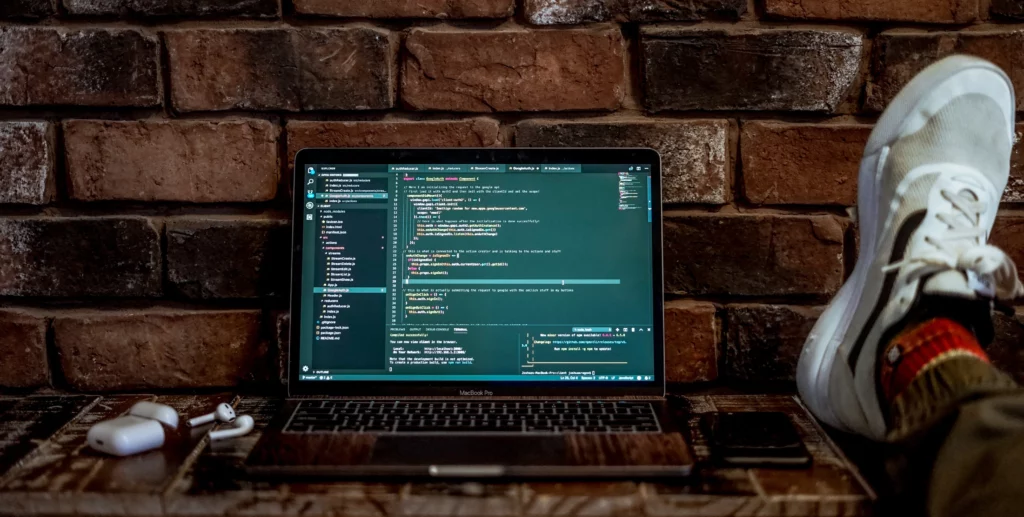
You should end up with a screen like the below.

A quick overview so you have some references. The section on the left is where all your files, and folders exist relating to your current project. The ‘src’ folder (short for source) is where your source code lives, ie, your ‘.java’ files, aka the home for the code you write. Within these files we define a ‘class’, ‘attributes’, and ‘methods’. Don’t worry if you don’t understand what those mean at the minute, we’re going to cover them in another article, but they are super important in Java programming. However, on line 3 we define our class ‘Main’, on line 4 we have a method, also called ‘main’, and inside that method (between the curly braces { } from lines 4 and 16) we have some code that is going to do stuff for us. Also shown in the code is comments. Anything on the same line after ‘//’ does not get executed. This is a handy way to leave comments to let other developers know what a certain part of your code is doing.
If you click the green triangle towards the top right, this will run the code in the ‘main’ method, of the ‘Main’ class. A console window will pop up at the bottom with the following output:

Yay! You’re now officially, technically, a Java programmer! Congratulations! But this is just the beginning.
Alternative Way To Run Your Code
If you want to get fancy you can run your code from the terminal. Why? In some scenarios you may not have access to an IDE and will need to know how to run your code from the terminal. If you’re not familiar with terminal commands, don’t worry, just follow along.
Open up your terminal. On macOS you can open up Launchpad and search ‘terminal’, on Windows you can hit the windows key and search for ‘CMD’. On Linux I think it’s CTL-Alt-T. But if you’re using Linux I imagine you already know.
Now navigate to where your project is saved. For me, that’s in Documents -> Code -> Hello World. So my command will look like this:
cd Documents/Code/Hello Worldcd means ‘change directory’. Your pathing will be different than mine.
Now we need to compile our code, ie, turn into the language our computer can understand. Do this:
javac src/Main.javaLastly, we run this:
java src/Main.javaThis method isn’t super important to know right now, but it’s handy to have as reference, because you may come across it in the future. But for now, we will stick to running our applications inside IntelliJ.

